Virtually every edge on the cabinet was nicked or swollen so I went around and cut off the edge at a 45 degree angle to prepare for Bondo re-edging.
 |
| Use a utility knife to remove all swollen or damaged corners. Try not to angle cut deeper than 45 degrees. |
I have seen people use masking tape attached to the outside of the edge to create a new edge when Bondo was applied. I initially used tape, but found that pieces of cardboard stapled to the edge held up better and it was also cheaper in the long run.
 |
| Use masking tape/cardboard to create a mold for your new corners. Take your time: You want to replicate the original 90 degree angle as closely as possible. |
Once the Bondo had dried it then became time to sand the mess up. Sanding the MDF created a funky looking cracked ice pattern whereever there was swelling.
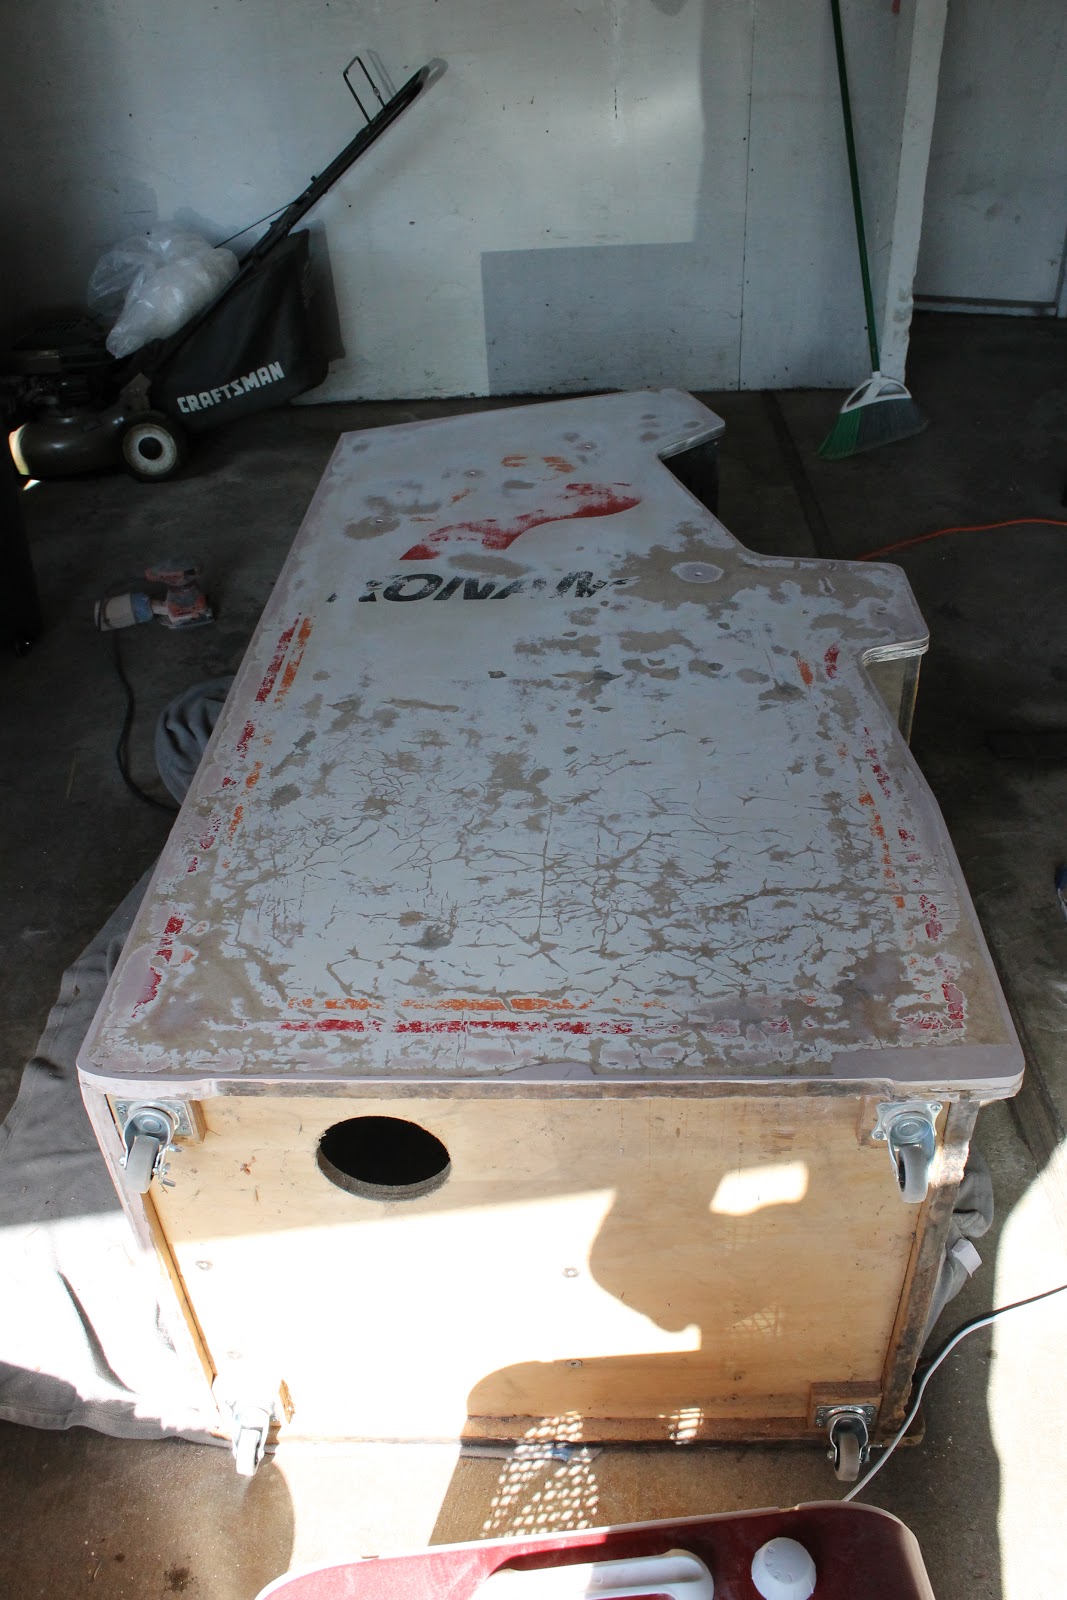 |
| Remove the mold once the Bondo has dried and sand off and high areas. Start with low grit paper, use Bondo to refill any missing areas or chunks that broke off, then resand with low grit paper. Once you are confidant with your edges, gradually increase paper grit. |
The next step, after sanding out all the imperfections, was to roll on some primer to check my work and then move onto painting. This is when everything started coming together. In between the Priming, Sanding, Painting, Sanding, etc, I was working on making a new back door and touching up the control panel.
 |
| Remember to prime after your final sand to check for any hidden imperfections. I went with Rustoleum White Enamel for paint because acrylic paint can't take (any) abuse. |
No comments:
Post a Comment